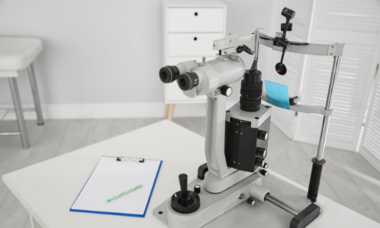
A slit lamp is a prerequisite for a comprehensive eye exam in any eye care practice. It enables ophthalmologists to diagnose diseases and eye conditions.
Over the decades, slit lamps have undergone significant technological advancement giving more features and functionality to their users. However, there are numerous choices in the market when it comes to purchasing the right one for your practice.
This blog covers all the important features and functionalities and topmost slit lamp manufacturing companies to help you with your purchase. Firstly, let us start with the definition of a slit lamp.
What is a slit lamp?
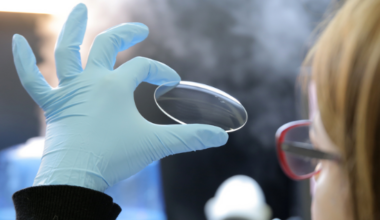
A slit lamp is a microscope with a very bright light that lets your doctor check the insides of your eye such as the lens, the retina, the optic nerve as well as the front of your eyes such as eyelids, conjunctiva, cornea, and iris closely. This eye exam is known as biomicroscopy.
A slit lamp is made up of multiple instruments such as a moveable binocular microscope, a light source that can be easily adjusted, and a frame where a patient can rest his head.
What are the uses of a slit lamp?
With the help of a slit lamp, various conditions can be diagnosed such as:
- Cataract, a condition that causes protein deposits to be formed in the crystalline lens making it opaque; hence affecting the vision.
- Retinal detachment, a condition in which the retina detaches from its base.
- Macular degeneration in which the central vision is affected due to various reasons.
- Damage to the cornea also can be diagnosed with a slit lamp.
- Blockage in retina vessels causes vision loss over time and more.
How to use a slit lamp?
At the first glance, a slit lamp may look quite overwhelming for most beginners. However, we have it all covered. Different pieces of equipment of the slit lamp are used during the eye exam. Hence, let us look at every part of the slit lamp stepwise.
Step 1: Position yourself
As mentioned above biomicroscopy is a part of comprehensive eye tests and thus you see yourself frequently testing patients. Having said that, building good seating habits will help prevent neck strains, back pain, incorrect diagnoses, fatigue, and more.
For your comfort adjust the height of your seat and then the binocular microscope. Here are the steps:
- Close one eye and look into one of the ocular.
- Next, close this eye and open the other one and then adjust the ocular to bring it in the vision field.
- Lastly, open both eyes and check your binocular vision.
- If you wear eyeglasses you can also set your power by rotating the dial on your binocular microscope.
Step 2: Position the patient
The following step is to ensure the comfort of your patient or you’ll never have the right results. Once the patient is seated across the table you need to make certain adjustments prior to the tests. Here are the steps:
- Adjust the height. You can lift the entire apparatus up and down with the lever underneath the table. Another way to do this is by using the buttons on your table that will lift to bring down the patient’s chair.
- Fix the head position of the patient. Once the height is adjusted you need to make sure the patient’s head is positioned properly chin rest while touching the headband.
- Align the corner of the patient’s eye with the black line on the frame. Now, you are ready for the test.
Step 3: The slit lamp test
- Now that comfort is locked, make sure to turn on the power switch on the table.
- Next, with your dominant hand use the joystick to lift the apparatus up and down to adjust to the height of the patient. Fix the non-dominant hand on the rotating beam.
- Set the width with the help of a knob on the beam. You will see numbers on the dialers. You can choose from smallest to largest based on the test you want to conduct.
- Next, you can use another handle on the top of the illumination setup. It can be rotated horizontally/vertically to adjust the height of the beam and to turn the light to cobalt blue.
Summary
Further, you can move the whole apparatus near or farther from the patient to set focus. For example, to examine the eyelids, iris, and cornea you need to move to the unit towards yourself. On the other hand, to examine the inner structure of the human eye anatomy like the retina, you need to move the unit towards the patient.
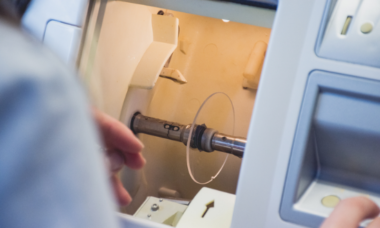
Testing the fundus of the eye i.e. the back of the inside of the eye such as the retina and the optic nerve is known as Fundoscopy. It is typically done using a magnifying lens such as Volk lens 90D or an Ocular 90D lens and an Ophthalmoscope. However, this magnifying lens is also helpful in fundus biomicroscopy.
Also, note that you get a cross-sectional view using slit lamps.